Propel Drone Instructions: A Comprehensive Guide
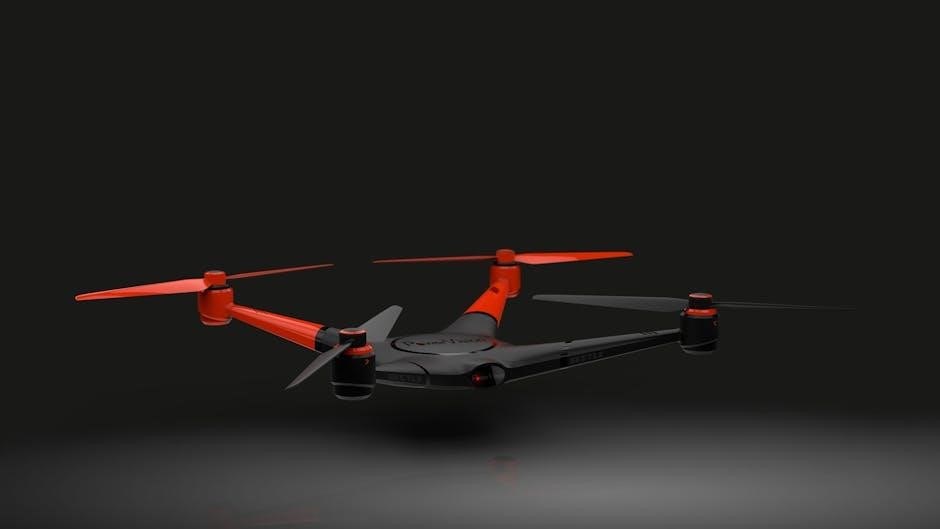
PROPEL drones, like the Flex 2.0, require careful attention to the instruction manual for safe and optimal flight; always prioritize safety guidelines.
Understanding Your Propel Drone Model
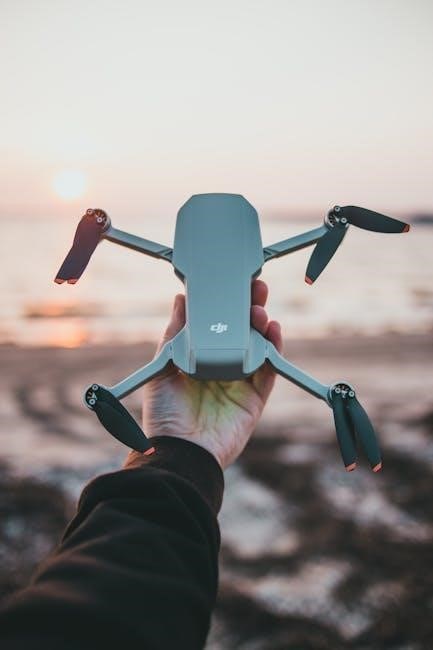
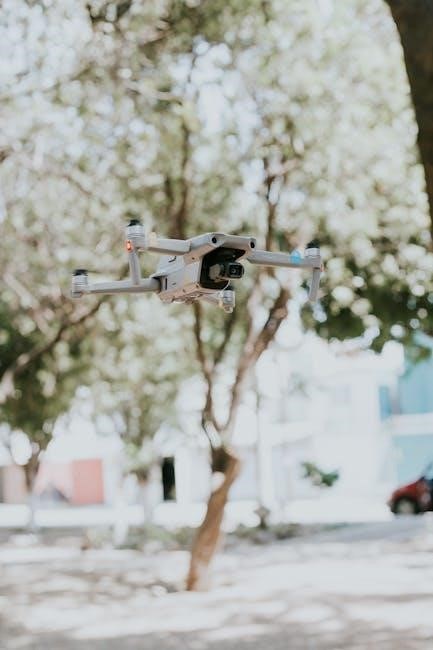
PROPEL drones, particularly models like the Flex 2.0 Compact Folding Drone with HD Camera, are designed for recreational use, offering a blend of portability and functionality. Familiarizing yourself with your specific model is crucial before operation. The instruction manual details features such as the HD camera capabilities, foldable design for easy transport, and the wide range of operational possibilities.
Understanding the components – from the drone itself to the remote controller, battery, and spare parts like USB chargers – is paramount. PROPEL emphasizes using premium materials, and knowing these components aids in proper maintenance and troubleshooting. Different models may have varying specifications, so always refer to the documentation accompanying your drone for accurate details regarding its capabilities and limitations.
Unboxing and Component Checklist
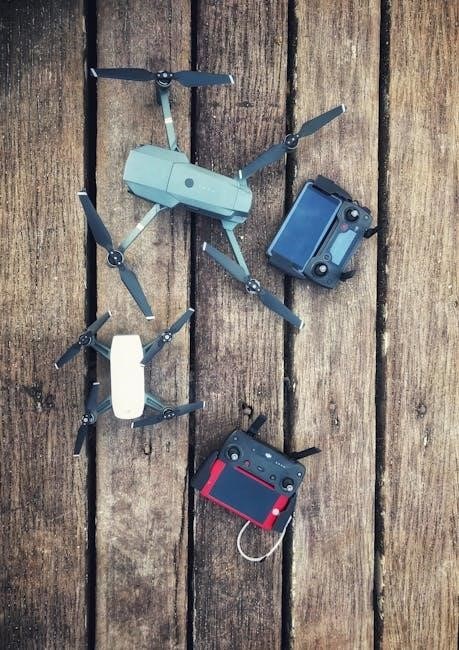
Upon unboxing your PROPEL drone, carefully verify all components are present. The standard package typically includes the drone itself, a remote controller, a battery, spare propellers, a USB charging cord, and the instruction manual. Additional items may include a phone holder or a USB card reader, depending on the model.
Inspect each item for any visible damage sustained during shipping. Ensure the battery is securely packaged and the propellers are undamaged. Refer to the included documentation to confirm you have all listed parts. Missing components should be reported to the retailer immediately. A thorough check before first use prevents potential issues and ensures a safe and enjoyable flying experience with your new PROPEL drone.
Battery Charging and Management
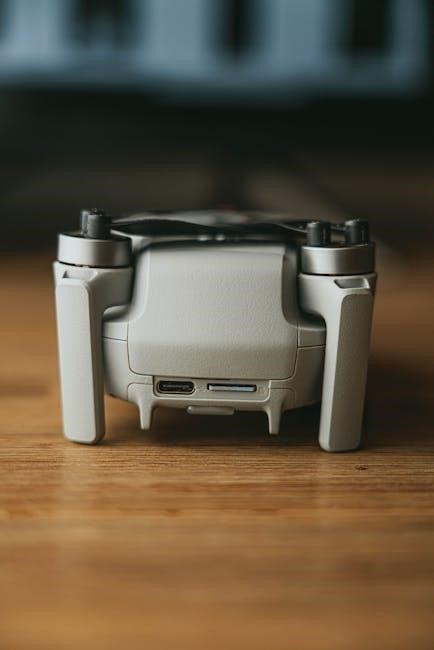
Proper battery care is crucial for maximizing your PROPEL drone’s flight time and lifespan. Always use the provided USB charging cord to charge the battery fully before its initial flight. Disconnect the battery immediately after it reaches a full charge to prevent overcharging, which can damage the battery.
Avoid leaving the battery connected to the charger for extended periods. Store batteries in a cool, dry place, away from direct sunlight and extreme temperatures; Regularly inspect the battery for any signs of swelling or damage. Refer to the instruction manual for specific charging times and safety precautions. Following these guidelines will ensure optimal battery performance and longevity for your PROPEL drone.
Remote Controller Overview
The PROPEL drone remote controller is designed for intuitive operation. Familiarize yourself with the control sticks, buttons, and indicators before your first flight. The left stick typically controls altitude (ascending and descending) and rotation, while the right stick manages forward, backward, and sideways movement.
Understand the function of each button, including the power switch and any dedicated buttons for features like HD camera control. The controller’s LED indicators provide vital information about battery level and connection status. Consult the instruction manual for a detailed diagram and explanation of each control element. Proper understanding of the remote controller is essential for safe and precise drone operation.
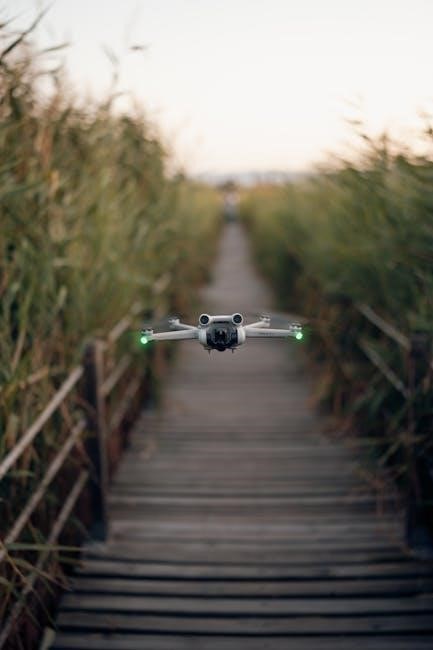
Drone LED Indicators and Their Meanings
PROPEL drone LED lights communicate crucial information about the drone’s status. Upon battery installation, the LEDs will begin flashing, indicating the system is initializing. Different colors and flashing patterns signify various conditions. A rapidly flashing red light often indicates a low battery, requiring immediate landing.
Solid green lights generally mean the drone is ready for flight and properly connected to the remote controller. Refer to your instruction manual for a comprehensive breakdown of all LED indicators and their corresponding meanings. Understanding these signals is vital for safe operation and troubleshooting potential issues during flight. Ignoring LED warnings can lead to crashes or loss of control.
Pre-Flight Checklist & Safety Precautions
Before each flight, a thorough pre-flight check is essential for safe operation of your PROPEL drone. Ensure the battery is fully charged and securely connected. Confirm the propellers are undamaged and correctly attached. Always start the drone on a clean, flat, level surface, free from obstructions.
Maintain a 20-meter radius between the drone and yourself, especially during initial testing. Review the enclosed safety instructions carefully. Be aware of your surroundings and adhere to all local regulations. Disconnect the battery immediately after charging to prevent overcharging. Prioritize safety and responsible flying practices to enjoy a positive drone experience.
Manual Take-Off Procedures
For a manual take-off with your PROPEL drone, ensure the barometric pressure sensor is initially off. This allows for direct control from the start. Gently push both control sticks downwards and inwards simultaneously. Continue holding this position until the motors begin to spin.
Slowly increase the throttle (left stick) to initiate lift-off. Maintain a steady hand and observe the drone’s response. Be prepared to make minor adjustments with the yaw (right stick) to maintain stability. Practice in an open area, free from obstacles, to become comfortable with the manual take-off process. Remember, smooth and controlled movements are key for a successful launch.
Basic Flight Controls
Mastering the controls is crucial for enjoyable PROPEL drone flight. The left stick governs altitude – up for ascending, down for descending; Simultaneously moving both sticks inwards initiates take-off. The right stick controls rotation and direction.
Pushing the right stick left or right causes the drone to rotate, or ‘yaw’. Forward and backward movements on the right stick dictate the drone’s horizontal direction. Gentle movements are key; avoid abrupt inputs. Practice coordinating both sticks to achieve smooth, controlled flight. Familiarize yourself with how the drone responds to each input before attempting complex maneuvers. Consistent practice builds confidence and precision.
Ascending and Descending
Controlling altitude with your PROPEL drone is managed via the left joystick. Pushing the stick upwards initiates ascent, increasing the drone’s height. The speed of ascent is directly proportional to how far up you push the stick – a gentle push results in a slow climb, while a full push yields a faster ascent.
Conversely, pulling the left stick downwards commands descent. Again, the rate of descent is controlled by the stick’s displacement. Always descend slowly and cautiously, especially near obstacles. Be mindful of wind conditions, as they can affect the drone’s stability during vertical movement. Smooth, controlled adjustments are vital for safe and precise altitude control.
Forward, Backward, and Sideways Movement
PROPEL drone directional control utilizes the right joystick. Pushing the stick forward propels the drone in the forward direction, away from the pilot. The further you push, the faster the drone will accelerate. Similarly, pulling the stick backward causes the drone to move backwards. Gentle movements are recommended for precise positioning.
To move sideways (strafe left or right), gently tilt the right joystick left or right, respectively. Maintaining a stable hand is crucial for smooth, controlled lateral movement. Always be aware of your surroundings and potential obstacles when maneuvering. Practice these movements in an open area to gain proficiency and confidence.
Rotation and Yaw Control
PROPEL drone rotation, also known as yaw control, is managed using the left joystick. Rotating the left joystick clockwise will cause the drone to rotate clockwise, turning it to the right. Conversely, rotating the joystick counter-clockwise will rotate the drone counter-clockwise, turning it to the left.
Yaw control is essential for maintaining orientation and capturing desired footage. Practice smooth, controlled rotations to avoid abrupt movements. Be mindful of the drone’s heading relative to your position and surroundings. Small adjustments are often sufficient for precise positioning. Mastering yaw control is key to confident and creative flight.
Calibrating the Drone
PROPEL drone calibration is crucial for stable flight, particularly after transport or if experiencing erratic behavior. Calibration ensures the drone accurately senses its orientation and position. If the barometric pressure sensor is off, a manual take-off requires precise calibration. This often involves placing the drone on a clean, level surface.
Follow the specific calibration steps outlined in your drone’s instruction manual. Typically, this involves a specific joystick movement sequence. Proper calibration corrects for environmental factors and internal sensor drift. Regularly calibrating your drone, especially the gyro, will significantly improve flight performance and prevent unwanted drifting.
Barometric Pressure Sensor Calibration
The barometric pressure sensor in your PROPEL drone is vital for altitude hold and stable hovering. If this sensor is inaccurate, the drone may drift up or down unexpectedly. Calibration is often necessary when flying in varying weather conditions or at different altitudes. For a manual take-off, ensuring the sensor is correctly calibrated is paramount for controlled ascent.
Refer to your drone’s instruction manual for the precise calibration procedure. This usually involves letting the drone sit stationary for a short period to sample the ambient pressure. A successful calibration will result in more consistent altitude control and a smoother flying experience. Regularly check and recalibrate for optimal performance.
Gyro Calibration
Proper gyro calibration is essential for maintaining stable flight with your PROPEL drone. The gyroscope detects rotational movement, and inaccurate calibration can lead to drifting or erratic behavior. Calibration ensures the drone accurately understands its orientation in space, resulting in precise control and responsiveness.
Typically, gyro calibration involves placing the drone on a perfectly level surface and initiating the calibration sequence through the remote controller, as detailed in the instruction manual. Avoid any vibrations or movement during this process. Successful calibration will noticeably improve flight stability and control, especially during maneuvers. Recalibrate if you experience unusual flight patterns.
Troubleshooting Common Issues
Encountering issues with your PROPEL drone is common, but many are easily resolved. A frequent problem is the drone going “out of range,” typically occurring beyond a 20-meter radius from the remote controller; immediately land the drone if this happens. LED light malfunctions can indicate various problems – consult the instruction manual for specific color codes and their meanings.
If the drone fails to respond, ensure the battery is fully charged and properly connected. Check for obstructions interfering with the signal. Refer to the detailed troubleshooting section within your drone’s user guide for more complex issues and potential solutions, prioritizing safety at all times.
Drone Out of Range
Experiencing a “Drone Out of Range” situation requires immediate attention and a calm response. Typically, this occurs when the drone exceeds the 20-meter radius from the remote controller, as outlined in the instruction manual. The drone may exhibit unresponsive controls or signal loss.
The primary action is to attempt to regain control and immediately initiate a landing sequence. If control is lost, the drone may attempt to Return-to-Home (RTH), if enabled. Always be aware of your surroundings and potential obstacles during RTH. Maintaining visual line of sight is crucial; avoid flying in areas with signal interference. Prioritize a safe landing over attempting to extend the flight range.
LED Light Malfunctions
PROPEL drone LED indicators provide crucial status information; malfunctions require investigation. If the LED lights don’t behave as described in the instruction manual – for example, failing to flash after battery installation – it could indicate a battery issue, internal component failure, or a connection problem.
First, ensure the battery is fully charged and correctly installed. If the issue persists, consult the troubleshooting section of the manual. A consistently solid or absent LED may signal a critical error. Do not attempt to fly the drone if the LED indicators are malfunctioning, as this could lead to unpredictable behavior and potential damage. Contact Propel support for assistance.
Maintaining Your Propel Drone
Regular maintenance is crucial for ensuring the longevity and optimal performance of your PROPEL drone. After each flight, inspect the propellers for any cracks or damage, replacing them if necessary. Clean the drone’s body with a soft, dry cloth to remove dirt and debris.
Always disconnect the battery immediately after charging, following the safety instructions provided. Store the drone in a cool, dry place, away from direct sunlight and extreme temperatures. Periodically check the connections of all components. Refer to the manual for specific cleaning and maintenance recommendations. Proper care will help maintain your PROPEL drone’s premium quality.
Safety Instructions and Regulations
Prioritize safety when operating your PROPEL drone; always adhere to all applicable regulations. Maintain a visual line of sight with your drone at all times, keeping it within a 20-meter radius for reliable control. Never fly near airports, restricted airspace, or crowds of people.
Always disconnect the battery after charging and carefully review the enclosed safety instructions. Be mindful of weather conditions, avoiding flight in strong winds or precipitation. Familiarize yourself with local drone laws and regulations before each flight. Responsible operation ensures a safe and enjoyable experience with your PROPEL drone, respecting both people and property.
Resources and Support
For comprehensive assistance with your PROPEL drone, refer to the official user manual, available as a PDF online. The Manual Library offers additional collections and resources for troubleshooting and understanding your drone’s features. PROPEL is dedicated to providing premium products and support to its customers.
If you encounter issues, explore online forums and communities dedicated to PROPEL drones for shared experiences and solutions. Spare parts, such as USB chargers and card readers, are often available for purchase. Remember to check for similar items and contributions within online manual databases. PROPEL strives to ensure a positive user experience.